
 By
By How I Shoot, Edit & Create Cinematic Content with Minimal Gear
When people watch my videos or scroll through my Instagram, one of the most common questions I get is:
👉 “What camera are you using?”
👉 “How do you edit your videos?”
And honestly?
The answer surprises most people.
I don’t use a huge production setup. No bulky cameras. No expensive studio gear.
Instead, I’ve built a simple, powerful, and mobile-friendly content creation setup that lets me shoot anywhere – from city streets to mountains -and still create cinematic results.
This is exactly what I use 👇
🎥 1. My Main Camera – The Pocket Beast
📱 Samsung Galaxy S26 Ultra
This is the heart of everything I create.
I chose this device because it gives me:
- Stunning 4K/8K video quality
- Incredible zoom for travel shots
- Sharp low-light performance
- All-in-one convenience (camera + editing + upload)
💡 Real experience:
I’ve shot sunsets, cityscapes, and even drone-style clips – all from my phone – and most people can’t tell the difference.
👉 If you’re starting out, don’t overthink gear. A powerful phone like this is more than enough.
🚁 2. My Drone – Cinematic Aerial Shots
🚀 DJI Mini 3 Pro
This is what takes my content to the next level.
Why I love it:
- Lightweight & travel-friendly
- 4K HDR video
- Vertical shooting (perfect for Reels & Shorts)
- Incredible stability even in the wind
💡 Story moment:
The first time I flew this drone over a lake in Germany… it completely changed how I saw content creation.
👉 A drone doesn’t just capture video – it captures emotion and scale.
🤳 3. Stabilization – Smooth Like Butter
🎬 DJI Osmo Mobile 4
If you want professional-looking footage, stabilization is everything.
This gimbal helps me:
- Shoot smooth walking videos
- Capture cinematic motion shots
- Avoid shaky footage
💡 Pro tip:
Even the best camera looks bad with shaky hands – this fixes that instantly.
🎥 4. The Underrated Hero – Tripod
🪵 Tripod
Simple, but powerful.
I use it for:
- Static shots
- Time-lapses
- Self-recording
- Night photography
💡 Real talk:
If you’re a solo creator, a tripod is your best friend.
🎬 5. Video Editing – Where Magic Happens
Editing is where raw clips turn into stories.
✂️ Tools I Use:
- CapCut
- DaVinci Resolve
Why this combo works:
⚡ CapCut (Mobile King)
- Fast editing for reels
- Transitions, effects, captions
- Perfect for daily content
🎞️ DaVinci Resolve (Pro Level)
- Advanced color grading
- Professional editing timeline
- Best for cinematic videos
📲 Instagram (Final Touch)
- Publishing + quick edits
- Reels optimization
- Audience engagement
💡 Workflow insight:
I usually edit quick content on CapCut and cinematic projects on DaVinci.
📸 6. Photo Editing – Clean & Professional Look
🎨 Tools I Use:
- Google Photos
- Adobe Lightroom
My editing approach:
📷 Google Photos
- Quick edits
- Backup & organization
- Easy adjustments
🎨 Adobe Lightroom
- Color grading
- Presets
- Professional-level edits
💡 Editing philosophy:
I don’t over-edit. I keep colors natural and cinematic.
🎯 My Full Setup (Simple & Powerful)
Here’s everything I use in one place:
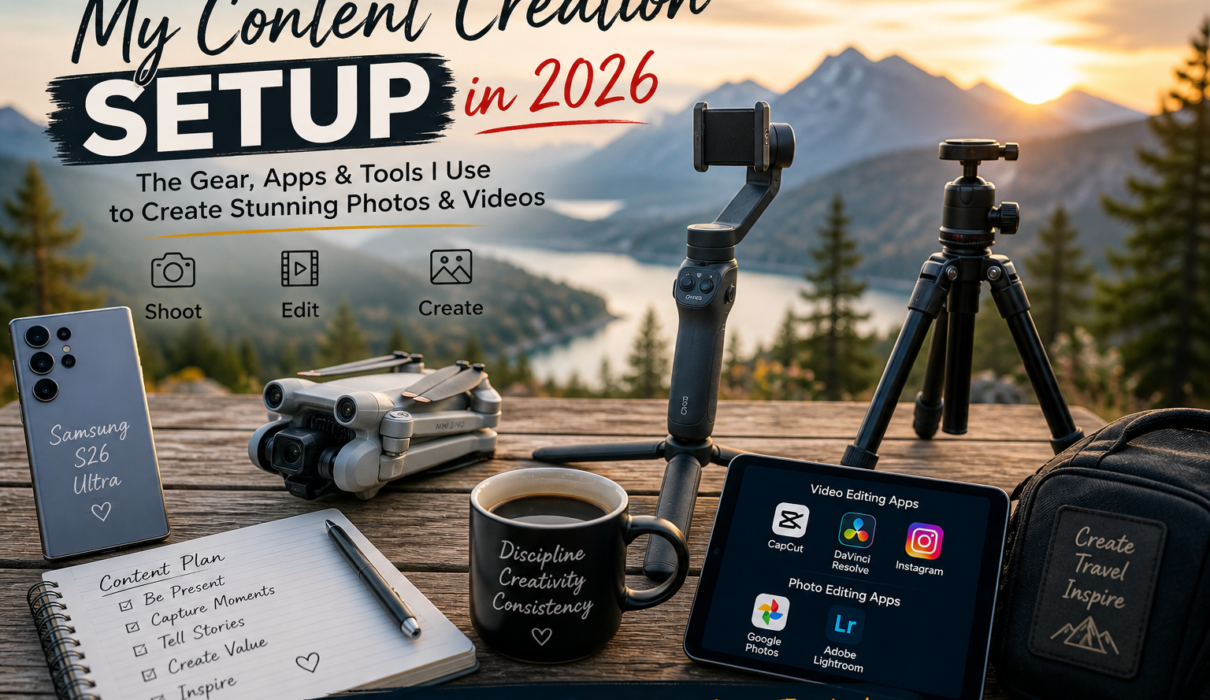
- 📱 Smartphone → Samsung S26 Ultra
- 🚁 Drone → DJI Mini 3 Pro
- 🤳 Stabilizer → DJI Osmo Mobile 4
- 🎥 Support → Tripod
- 🎬 Video → CapCut + DaVinci Resolve + Instagram
- 📸 Photo → Google Photos + Adobe Lightroom
🌍 Final Thoughts – You Don’t Need Expensive Gear
When I started, I thought I needed:
- DSLR
- Expensive lenses
- Studio setup
But the truth is:
👉 Consistency beats gear.
👉 Story beats quality.
👉 Creativity beats everything.
This setup works because it’s:
- Portable
- Affordable (compared to pro gear)
- Powerful enough for viral content
✨ SerenityKeyur Creator Tip
👉 “The best camera is the one you actually use.”
Start with what you have. Improve your storytelling. Upgrade later.
🚀 Ready to Start Creating?
You don’t need a studio.
You don’t need a team.
👉 Just your phone, your vision, and the willingness to start.
And trust me — that’s more than enough.
📸✨